This is the last in a three part series of posts on; Setting up a personal Certification Authority, Securing Apache with Client Certificates, and Setting up FreeRADIUS to secure your WiFi.
If you have followed the first tutorial you should have a .pem encoded Certification Authority Certificate and a .p12 encoded client certificate with a key.
Server Certificate
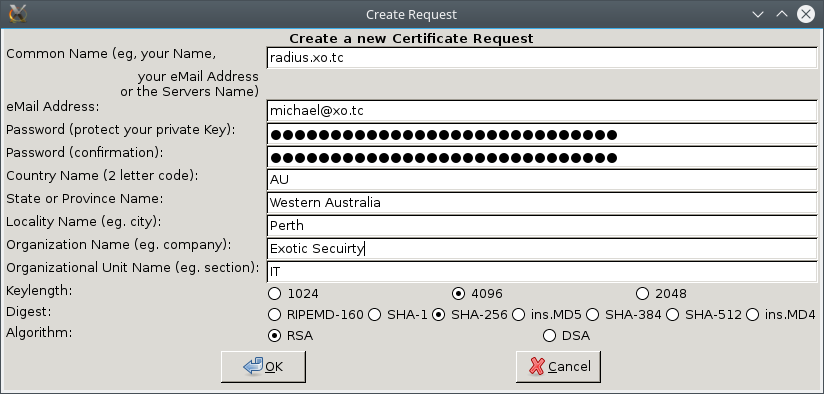
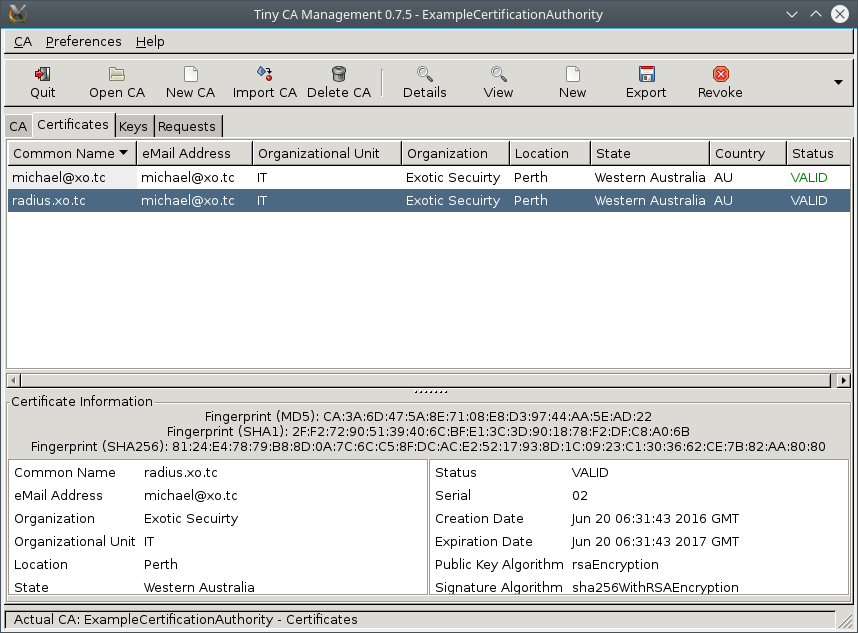
We will also need a server certificate for the RADIUS server, so let's open TinyCA and create one.
Create a new certificate request.

This time for a server certificate so for example radius.xo.tc
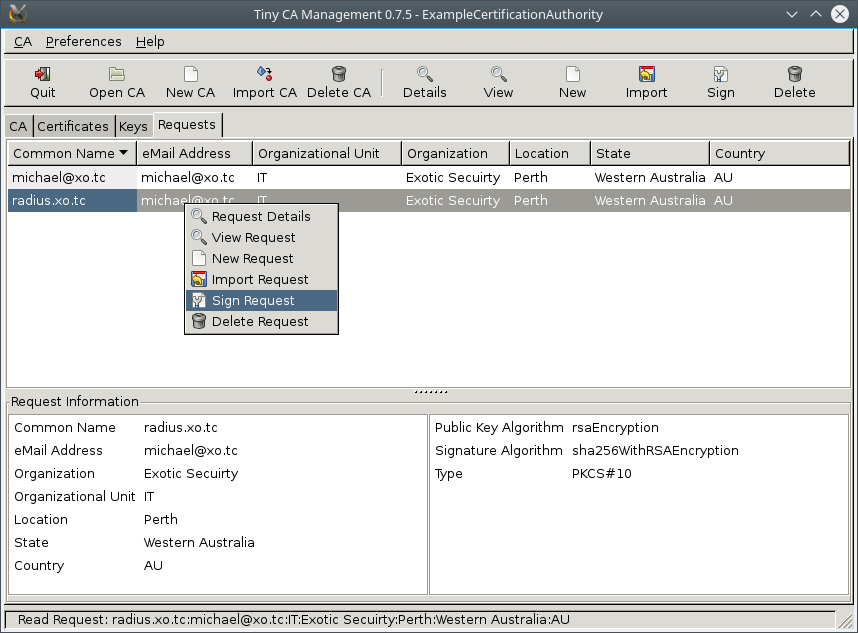
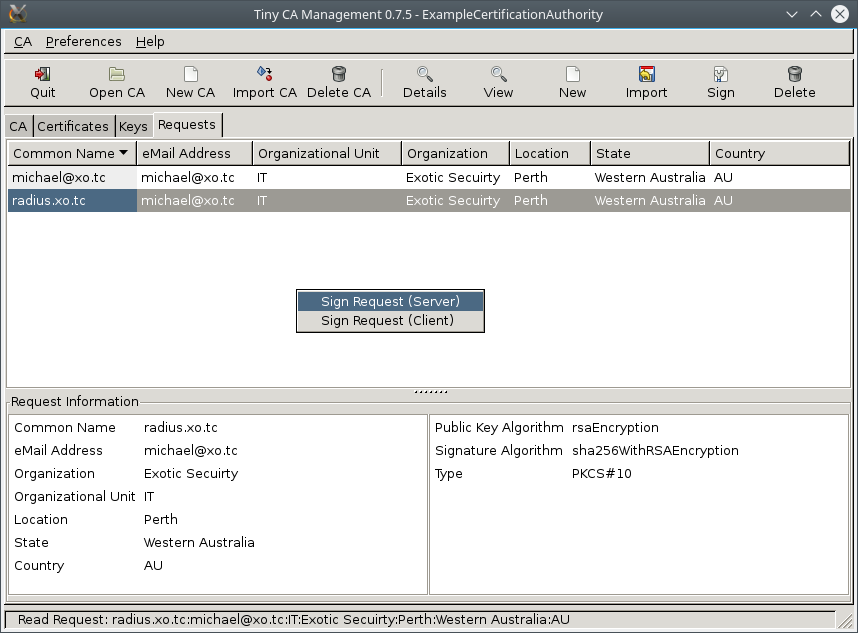
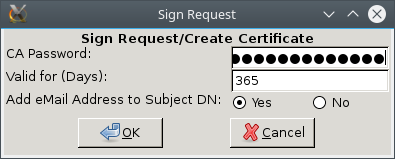
Sign the request
as a server certificate
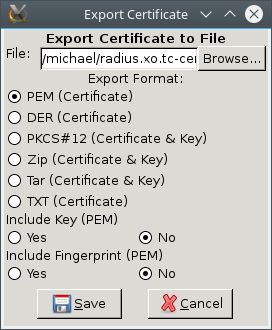
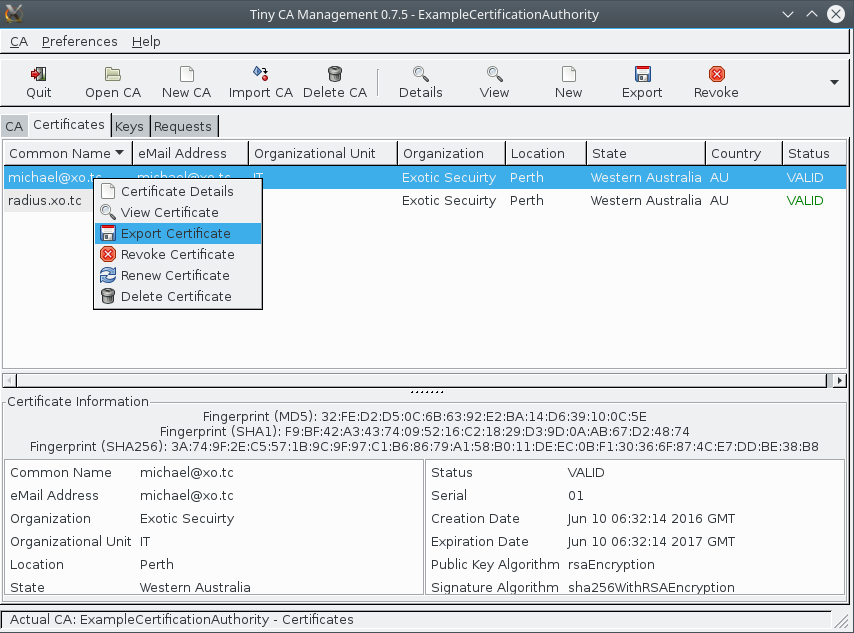
Now export the certificate
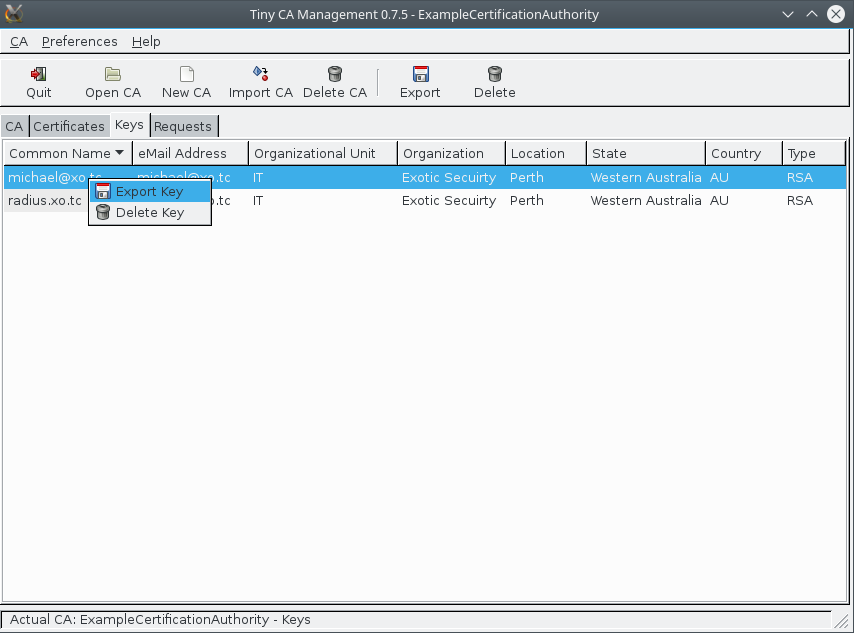
I prefer to export the certificate and the key separately.
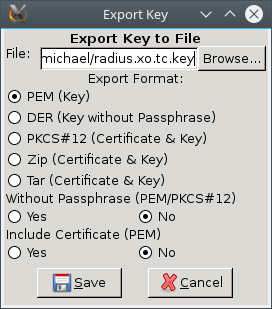
and scp the files across to the server.
RADIUS Server
Next we need to install FreeRADIUS on a server that your wireless access points can connect to, on Debian run sudo apt-get install freeradius
then we need to generate a shared secret key that is used for secure communication between your wireless access points and your RADIUS server.
dd if=/dev/random bs=1 count=36 2>/dev/null | base64
And then we need to edit /etc/freeradius/clients.conf
Add in the IP address of your wireless access point.
client localhost {
    #  Allowed values are:
    #   dotted quad (1.2.3.4)
    #       hostname    (radius.example.com)
    # ipaddr = 127.0.0.1
    ipaddr = 10.1.1.2
and your shared secret key1
#
#  The shared secret use to "encrypt" and "sign" packets between
#  the NAS and FreeRADIUS.  You MUST change this secret from the
#  default, otherwise it's not a secret any more!
#
#  The secret can be any string, up to 8k characters in length.
#
#  Control codes can be entered vi octal encoding,
#       e.g. "\101\102" == "AB"
#  Quotation marks can be entered by escaping them,
#       e.g. "foo\"bar"
#
#  A note on security:  The security of the RADIUS protocol
#  depends COMPLETELY on this secret!  We recommend using a
#  shared secret that is composed of:
#
#       upper case letters
#       lower case letters
#       numbers
#
#  And is at LEAST 8 characters long, preferably 16 characters in
#  length.  The secret MUST be random, and should not be words,
#  phrase, or anything else that is recognizable.
#
#  The default secret below is only for testing, and should
#  not be used in any real environment.
#
secret          = DTL1ep4eFmJQOnTXvs2pFtnCkWdTYJnPWS1bGgo87UbqtD4C
I've set require_message_authenticator = yes and I'd recommend doing so and only change it back to no if you have issues with older clients. The rest of the defaults for clients.conf are fine.
Next we need to edit /etc/freeradius/eap.conf.
eap {
        default_eap_type = tls
        timer_expire     = 60
        ignore_unknown_eap_types = no
        cisco_accounting_username_bug = no
        max_sessions = ${max_requests}

        # EAP-TLS
        tls {
                certdir = ${confdir}/certs
                cadir = ${confdir}/certs

                # private_key_password = whatever
                private_key_file = /etc/ssl/private/radius.xo.tc.key
                certificate_file = /etc/ssl/custom/radius.xo.tc-cert.pem
                CA_file = /etc/ssl/custom/ExampleCertificationAuthority.pem

                dh_file = ${certdir}/dh
                random_file = /dev/urandom

                CA_path = ${cadir}
.
                cipher_list = "DEFAULT"

                ecdh_curve = "prime256v1"

                cache {
                      enable = no
                      lifetime = 24 # hours
                      max_entries = 255
                }
                verify {

                }

                ocsp {
                      enable = no
                      override_cert_url = yes
                      url = "http://127.0.0.1/ocsp/"
                }
        }
}
restart FreeRADUIS sudo systemctl restart freeradius.service
Wireless Access Point
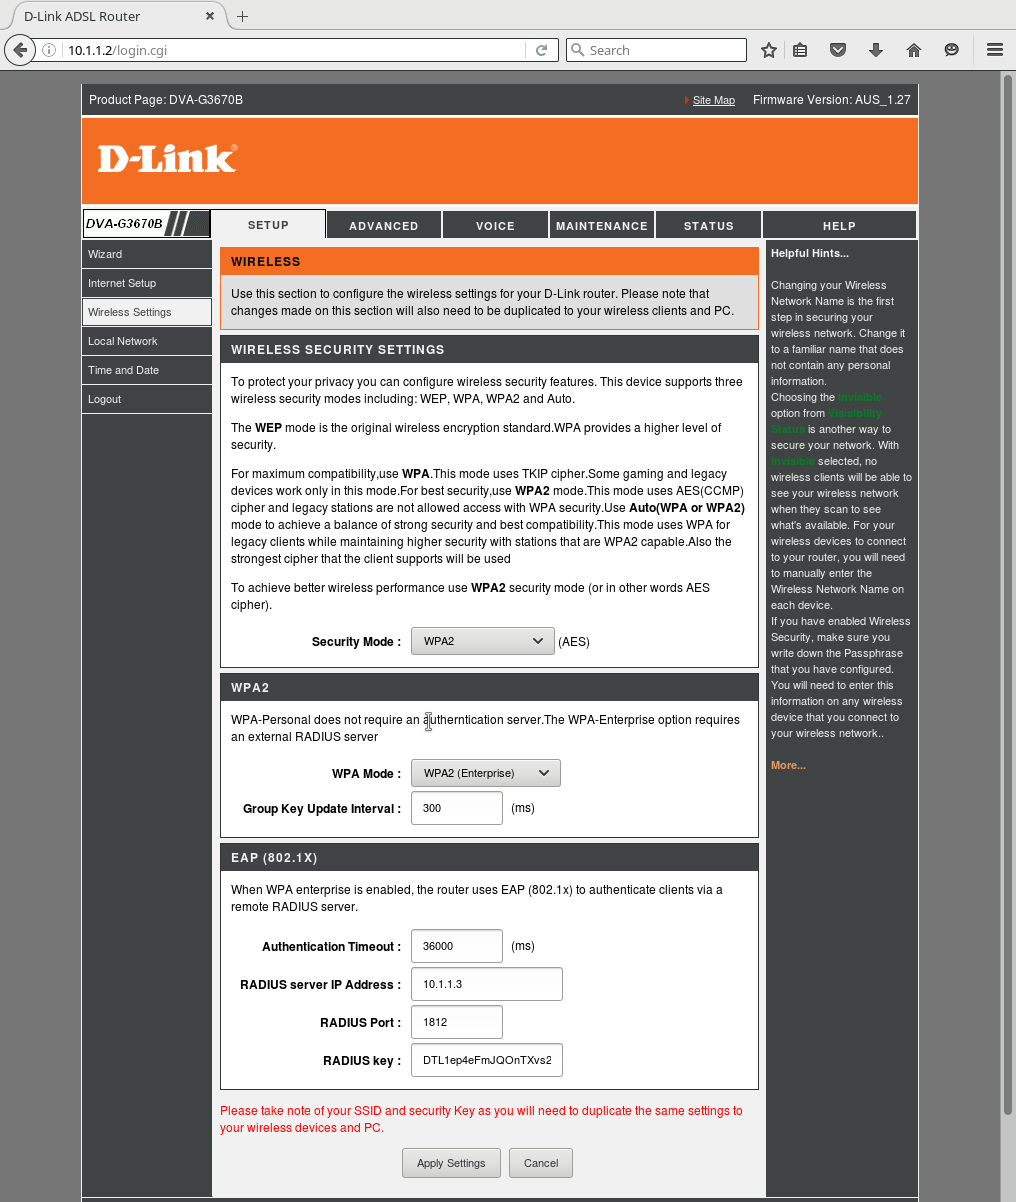
Next you need to configure your access point to use the RADIUS server, this will be slightly different for each type of access point, but it generally runs along the same lines. Log into your wireless access point through it's horribly buggy uncatchable web interface that's just dripping with 0 day.

Find the setting for wireless security, set the encryption to WPA2 and the mode to Enterprise (or 802.11x) and add in the IP address of you RADIUS server and your secret.
The Client
Again this is going to be slightly different for each type of device but I'll run through Android2 and Debian3 because that's what I have to play with but it's going to be fairly similar on most devices.
Android
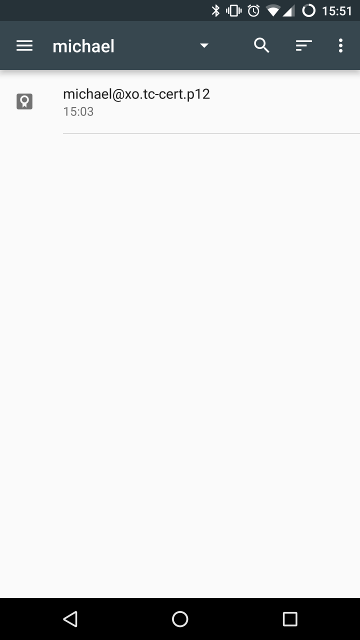
Load the .p12 format client certificate on to the phone.
Now go to Settings
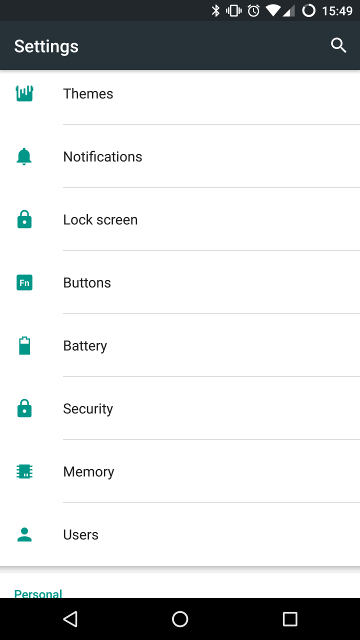
Security
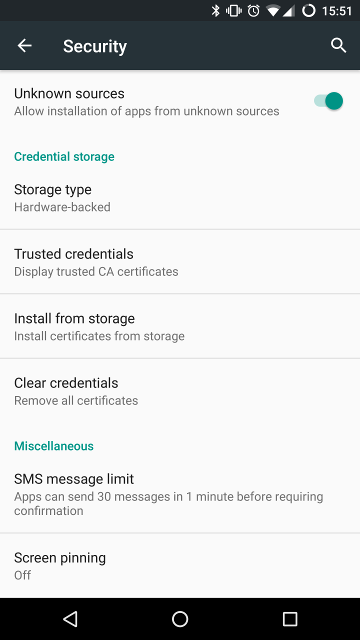
Select Install from storage and browse to the certificate.
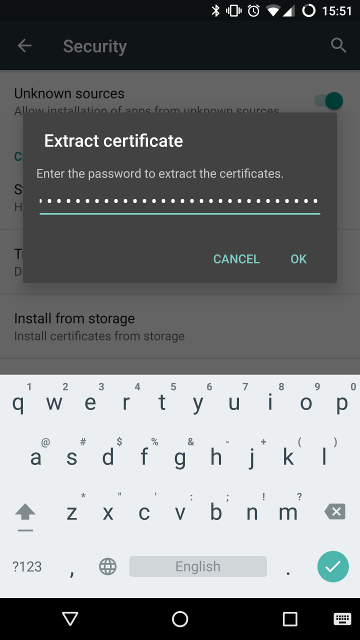
Enter the password.
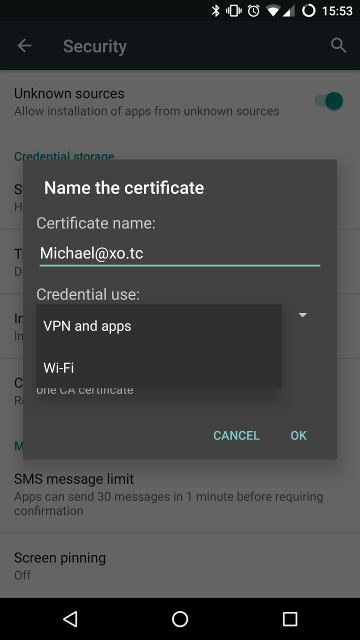
Under usage select WiFi.
Now go to connect to your WiFi setting and tap on the network you want to connect to.
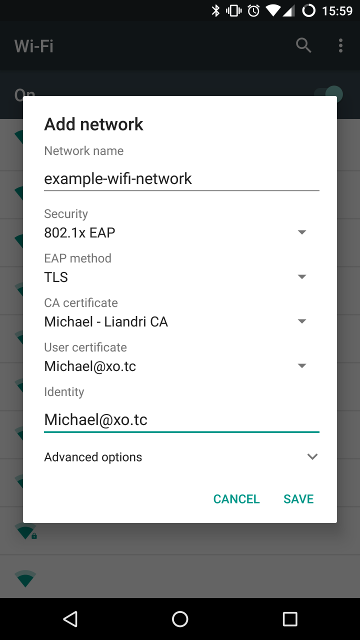
- Set the Security 802.11x EAP.
- Set the EAP method to TLS.
- Set the Certification Authority to the one CA created in the first post.
- Set the client certificate to the one created in the first post.
Debian
For Debian we are going to have to export the client certificate differently, instead of a .p12 file we will export the Client Certificate, Client Private Key and CA Certificate separately.
You should already have the CA Certificate, now export the client certificate.
And export the client private key.
Open network manager (Alt + F2 > Connection Preferences) and select your network to connect to.
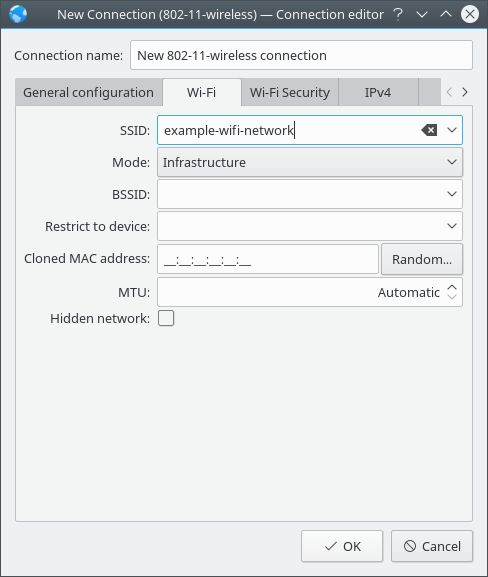
Open the WiFi Security tab
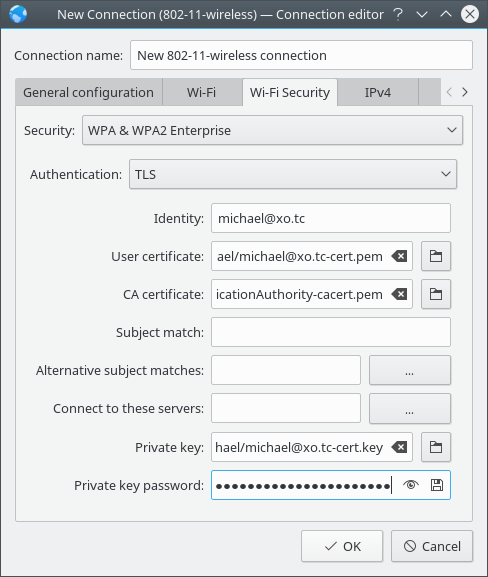
- Set the Security to WPA & WPA2 Enterprise.
- Set the Authentication to TLS.
- Set the Identity to the email address on your client certificate.
- Set the User certificate to you client certificate. (pem file)
- Set the CA certificate to you Certification Authority root certificate. (pem file)
- Set the Private key to the exported private key file. (.key file)
- Set the Private key password and hit OK.
